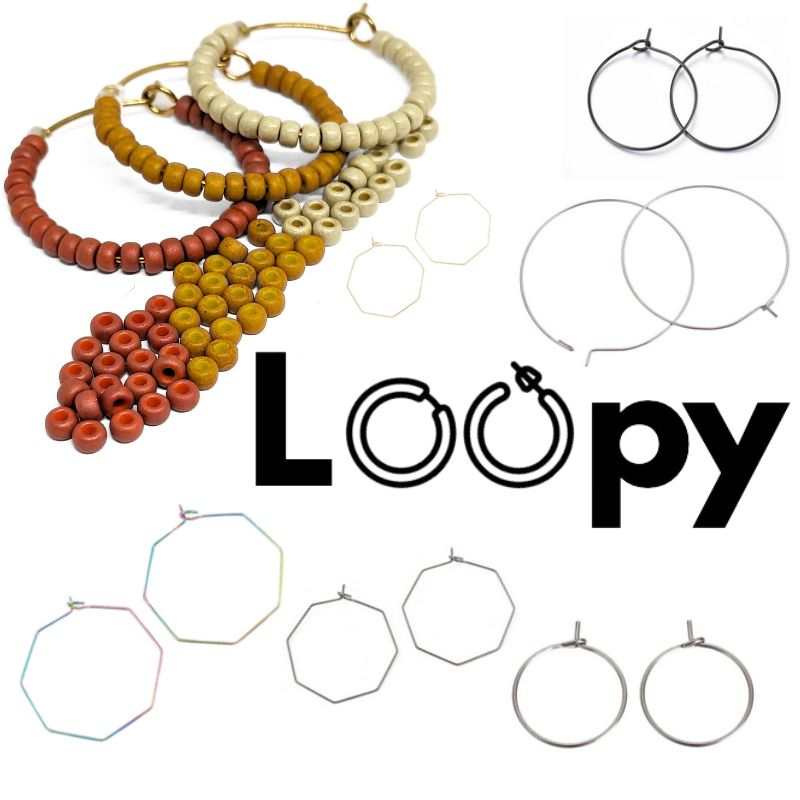
Tutorial on how to make Loopy Hoop Earrings
Share
Discover how to create your own Loopy Earrings!
Welcome to our step-by-step tutorial on how to make your own Loopy earrings! These elegant and simple earrings are the perfect accessory for any occasion, from a casual look to a special night out.

Material: To make these lovely Loopy earrings, you will need some simple but effective materials. You will need:
Silicone nut or back that will serve as a stop
and finally, some pliers to make the process easier.

Opening the Loopy Earrings: The first step is to open the Loopy earrings. This is easily accomplished by pressing the flap that is inserted into the loop of the hoop. With a slight movement, the flap will open, allowing easy access to work on the design.
Slightly bend the flap: Once the earrings are open, slightly bend the flap to facilitate insertion of the Miyuki beads. This step is crucial to ensure that the beads slide smoothly and stay in place once the earring is complete.

Inserting the Miyuki Beads: With the flap folded over, it's time to start inserting the Miyuki beads inside the hoop. Work carefully and precisely, making sure to leave about 1cm of space around the circumference of the hoop to allow for comfortable movement of the beads.

Prepare the silicone earring back: To prevent the beads from shifting, prepare the silicone earring back that will serve as a stopper at the end of the earring. Once all the beads are in place, place the earring back onto the open end of the hoop, making sure all the beads are securely fastened.

Fold the flap back: Finally, fold the earring flap back to securely close it. Using a gentle but firm motion, make sure the flap is completely closed to keep all the beads in place. And voilà! Your beautiful Loopy earrings are ready to show off.

