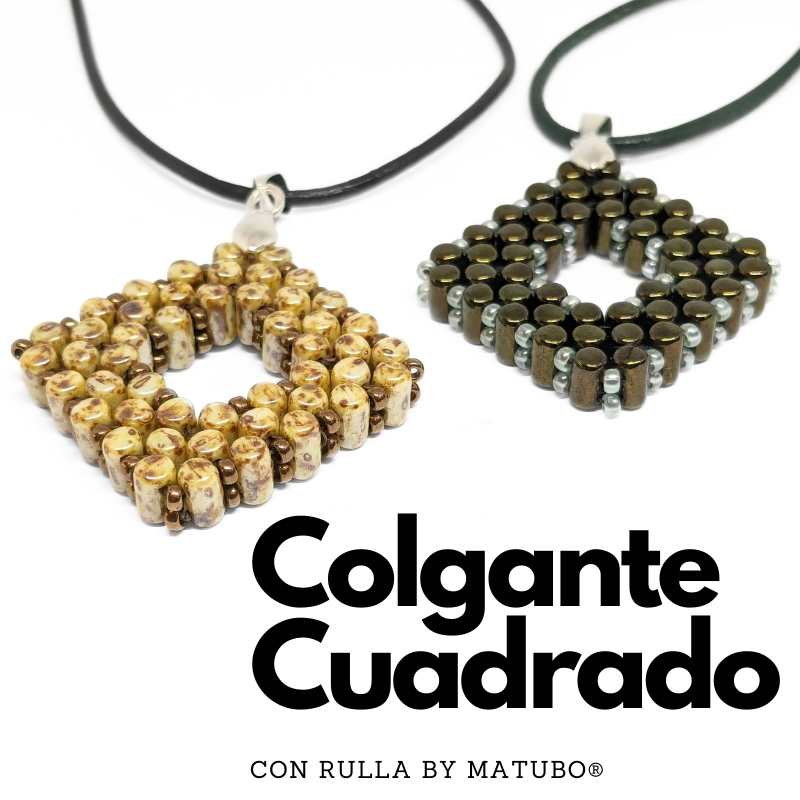
3D Window Pendant with Matubo® Rulla Beads - with Video
Share
Dive into the fascinating world of handmade jewelry creation with our exclusive tutorial on Matubo® Rulla beads. These tiny 5x3mm gems not only defy expectations with their two-hole design, but also open up a range of creative possibilities that will blow you away.

What makes Rulla beads so special? Beyond their size
compact, its distinctive feature lies in its ability to
allow completely different working techniques. Thanks to its two
holes, you can join them in parallel and create solid structures and
flexible, perfect for unique and original designs. But that's not
everything, the real magic begins when you explore the freedom of
Combine Rulla beads with other two-hole bead models
from the Matubo® brand, such as the Superduo, Miniduo, DiamonDuo or GemDuo.
This fusion of shapes and colors offers an infinite canvas for the
creativity, allowing you to design truly unique pieces of jewelry
impressive and personalized.
In this tutorial, we will guide you step by step to create an elegant pendant that highlights the versatility and beauty of Rulla beads. From the necessary materials to the most delicate details, we will accompany you in every step of the creative process.
Materials needed to make the pendant:
I used the colour « Metallic Green » for the green pendant and the colour « Opaque Ivory Ceramic look « for the brown pendant.
I have used the color « Seafom green Luster » for the green pendant and the color « Metallic Dark bronze » for the brown pendant.

The first thing we need to do is create a first square with four Rulla beads. For this we will string four beads and we will pass the thread through them again to close the square. We will tie a knot to secure the creation. We will start working only through one of the holes of the Rulla beads. From this first square we will create the following ones, a total of five squares on each side of the pendant.

To make the second square we will only have to string three new Rulla beads since the fourth Rulla will be one of those that formed the first square.

The creation should look like the image above. Here we have already formed the first two squares on one side of the pendant.

Once we have formed the first five squares on the first side of the pendant, we will move on to form the next side. To do this, we will bring the thread out of one of the loops on the side of the fifth square and form a new square. On this second side we will also make a total of five squares.

We will do the same to form the third side of the pendant. We will make new squares until we have a total of five squares on each side. To form the last side of the pendant we will only have to create three new squares since the first and last squares already belong to the first and third sides of the pendant.

Once we have all the sides of the pendant made, we will also sew together the holes on the other side of the Rulla beads to give more consistency to our creation.

Finally, we will create an ornament around the entire pendant. To do this, we will sew 11/0 seed beads between the Rulla beads. Both on the outer and inner sides. And through the holes at the top and bottom of the Rulla beads.

On the outer sides we will have to place three rockeries in addition to the rockeries that will also go in the corners. On the other hand, on the inner sides we will only place two rockeries on each side.

This will give even more consistency to our creation.
And look at what a wonderful pendant we have obtained. You can make it in an endless number of colours and sizes and use it for whatever you like. On this occasion I have placed a ball-shaped hook in one of the corners and I will use it as a necklace.

